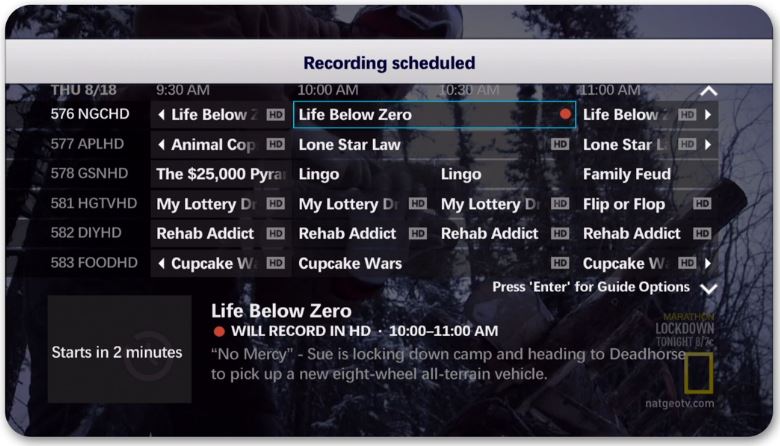
1. Press <GUIDE>. Use the arrows on your remote to scroll through and highlight a program.
2. Press <RECORD>. A red dot appears next to the program title to indicate that a recording is scheduled.
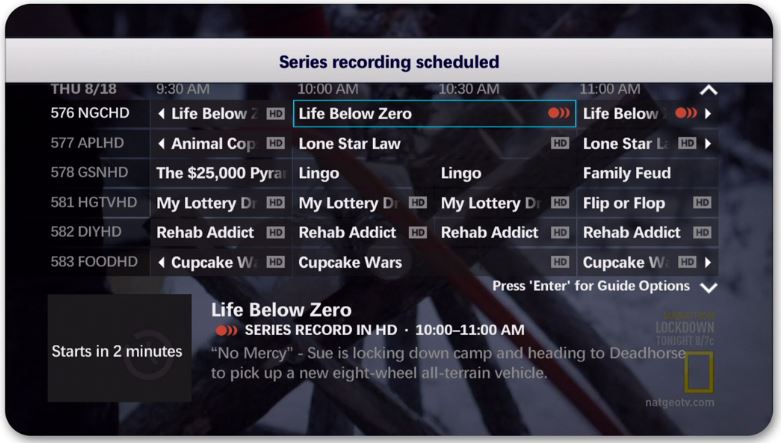
3. Press <RECORD> twice to schedule the same show at the same day and time every week. Three red dots will appear. This won’t work with movies you record.
4. Press <RECORD> a third time to cancel the recording. The dots will disappear. Press <EXIT TO TV> to return to your last viewed channel.
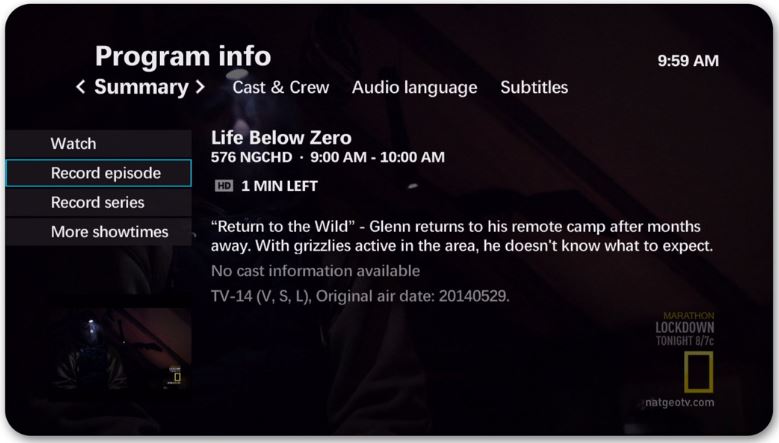
SCHEDULE A SINGLE RECORDING [PROGRAM INFO]
1. To access the Program info screen:
- Press <INFO> when tuned to a program, or
- Press <GUIDE>. Use the arrows to highlight a program. Press <INFO>.
2. Select Record episode and press <OK>. Press <OK> again to record the show.
3. To add more time to a current program if it runs long, see "Recording with Extra Time at the End."
Tip: Your DVR will record even if your TV is not turned on, as long as your DVR Set Top Box is on or in standby mode. You’re show will not record if your home loses electricity
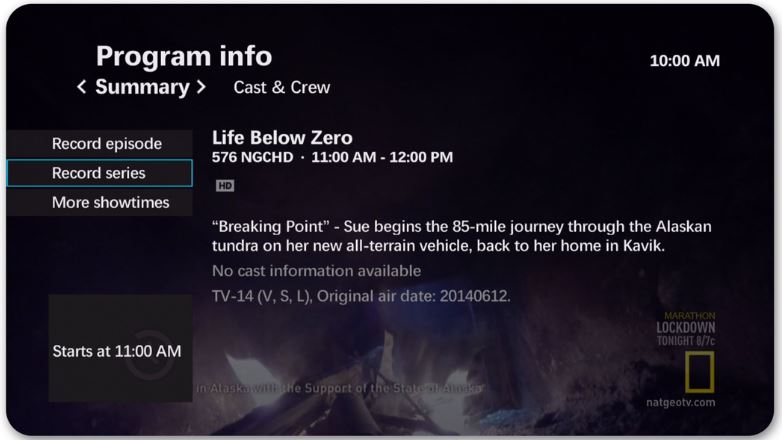
SCHEDULE A SERIES RECORDING [PROGRAM INFO]
1. To access the Program info screen:
- Press <INFO> when tuned to a program you want to record, or
- Press <GUIDE>. Use <UP> and <DOWN> arrows on your remote to highlight a program. Press <INFO>.
2. Select Record series and press <OK>.
3. Use <RIGHT> arrow to select TIME. You can limit the recordings to:
- Any day (at the scheduled time)
- Any day/anytime
- Any day/anytime/once per day
4. Select SHOW TYPE if you want to limit it to first run only. Otherwise, your DVR will record every instance.
5. Select STOP RECORDING to add time in case the program runs long. Press <OK> to select a time. Select Record, then press <OK>.
Note: A recording will not adjust if a program’s scheduled time changes unexpectedly. However, planned schedule changes will be followed and the episode will be recorded.
SCHEDULE A SINGLE RECORDING [CHANNEL DATE/TIME]
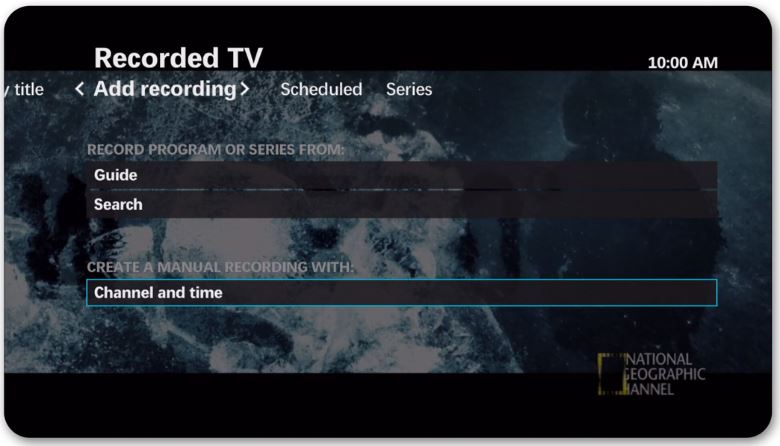
1. Press <RECORD TV>.
2. Use <RIGHT> arrow to select Add recording.
3. Select CREATE A MANUAL RECORDING WITH: Channel and time and press <OK>. The manual record screen appears.
SCHEDULE A SINGLE RECORDING (continued)
4. Fill in the fields on the Manual record screen using the arrow keys to move between fields.
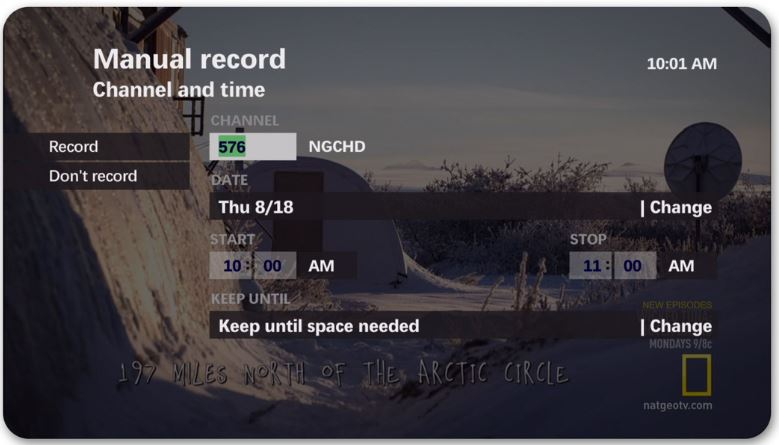
5. Select Record. Press <OK> to schedule the recording.
6. After a program is recorded, it is saved on your DVR until you delete it, or it is deleted to make room for new recordings.